


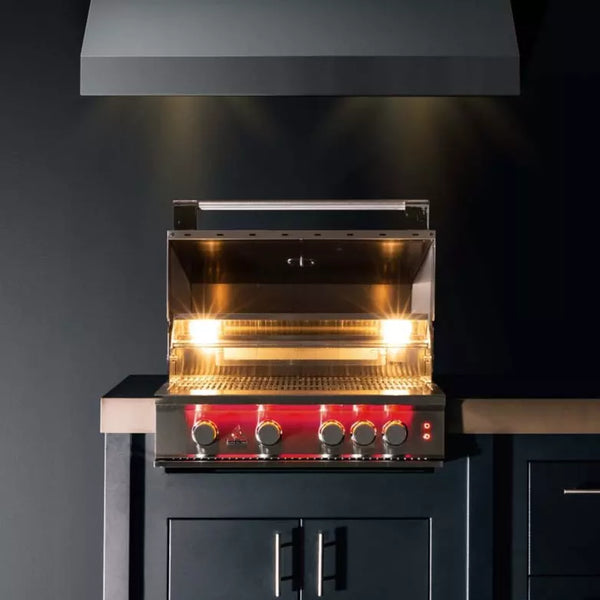


While Cal Flame purports to have the ‘best warranty in the industry’ be aware that they do not cover labor costs. We have a Cal Flame side burner, 6 months old that was used twice before becoming non functioning. We are now stuck with a minimum of $150.00 in labor just to have someone come out and trouble shoot the issue. The industry standard must be incredibly low. DO NOT PURCHASE!!!!!
Hi Laura, I was not able to locate an order associated with your name, so I want to make sure you're at the right place. Please reach out to us directly at support@betterpatio.com and we'll do everything we can to help get your side burner resolved.
A
Panama Jack Bali Teak 5-Piece Seating Set PJO-3601-NAT-5PC Purchased for a client and it is well made, sturdy and attractive. Recommend.
I hope we can keep this dialogue informative.
A
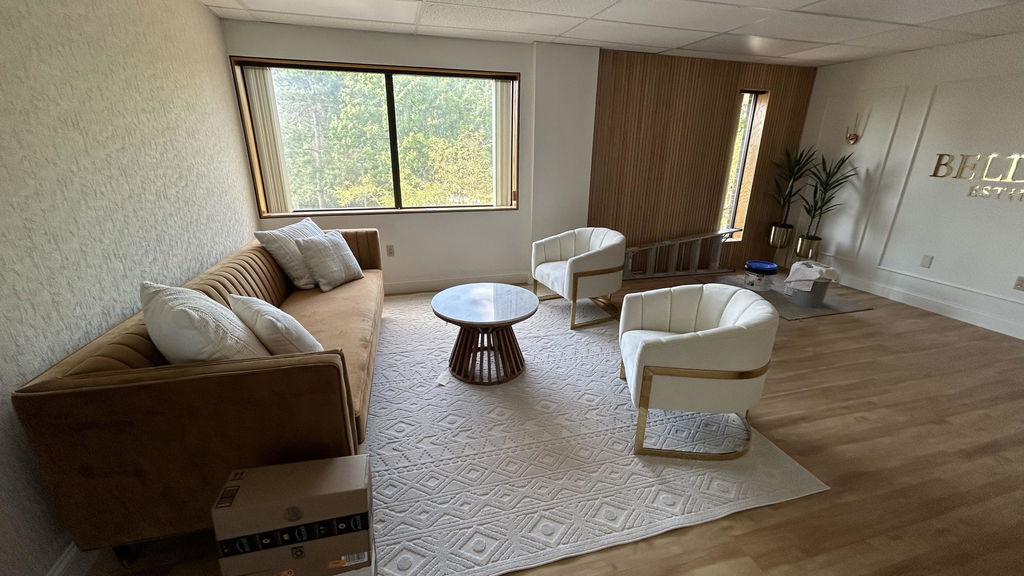
Modway Devote Channel Tufted Performance Velvet Sofa EEI-4720 Amazing sofa!
A
Modway Devote Channel Tufted Performance Velvet Sofa EEI-4720 This is our master piece! Please don’t hesitate if we’re interested!