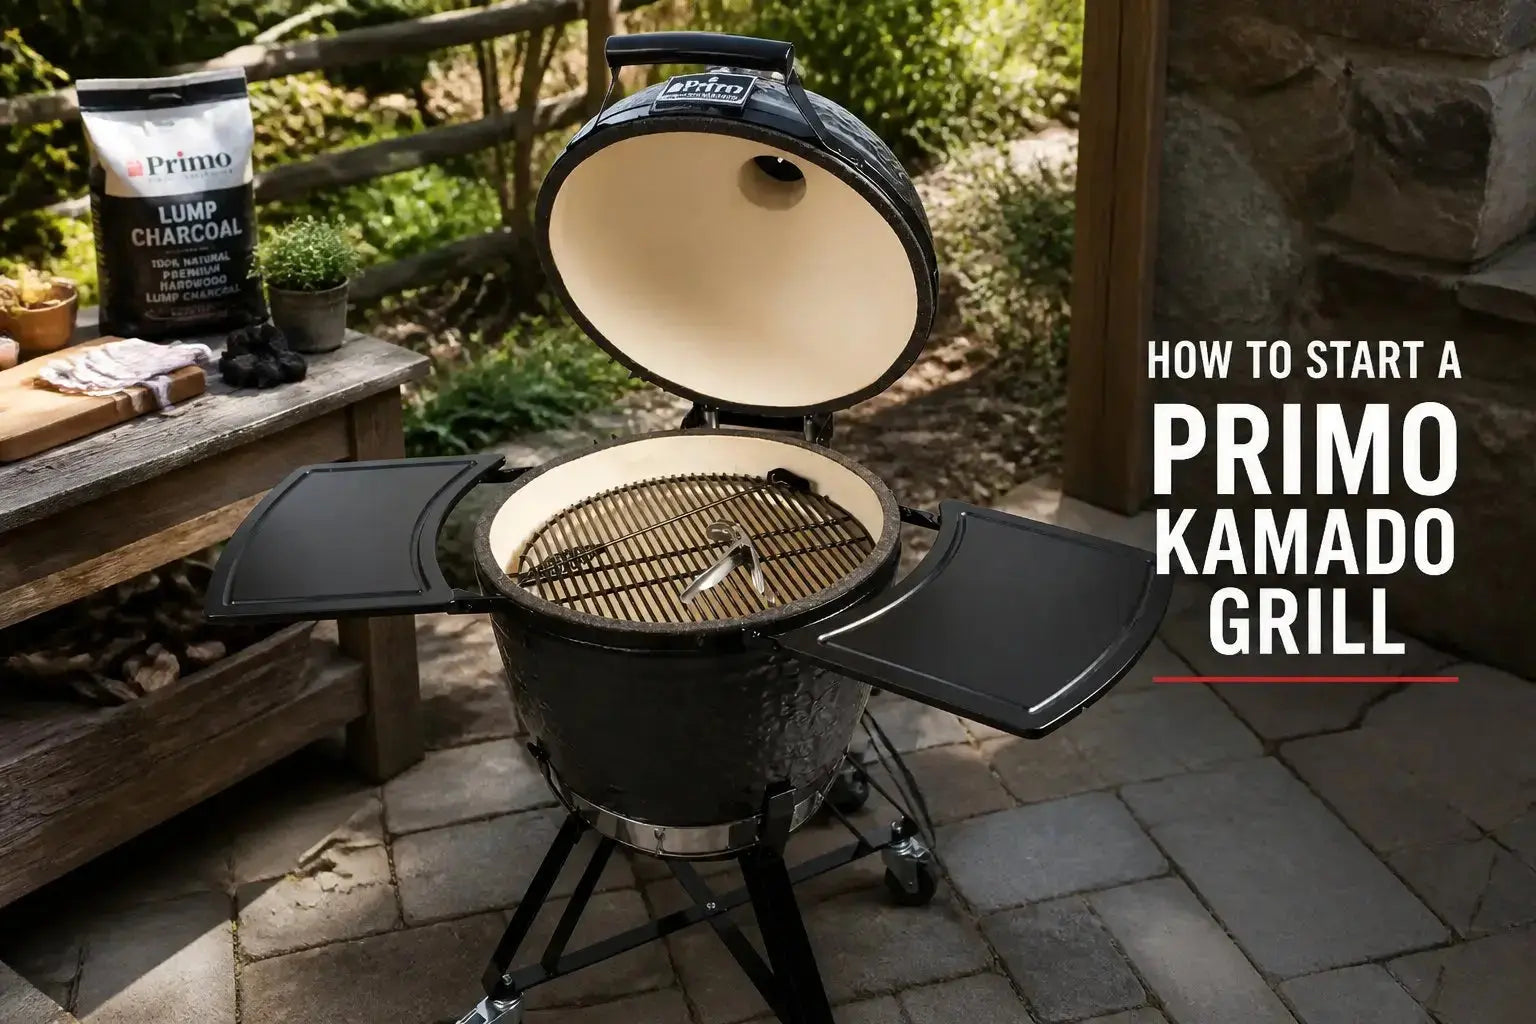
Learning how to start a Primo Kamado grill correctly is the first step toward getting the most out of one of the best ceramic grills on the market. Primo kamados are built differently from gas grills — charcoal, airflow, and heat management are what drive everything.
Whether you're lighting your Primo for the first time or looking to dial in your technique, this guide walks you through every step from setup to temperature control. You'll also find recommendations on the best Primo Kamado models available at Better Patio.
Ready to find your perfect Primo Kamado? Browse our full collection of Primo charcoal grills and find the right model for your outdoor cooking setup.

Getting your Primo Kamado ready is mostly about setup, picking the right fuel, and a few basic safety checks. These steps help you avoid headaches and get better results.
Put your Primo Kamado on a stable, level spot. You'll want at least 24 inches of space from anything flammable — walls, fences, whatever. Keep it clear of low branches or roof overhangs too.
Lump charcoal is the way to go for Primo Kamado grills. It lights faster than briquettes, leaves less ash behind, and gives you a cleaner burn with better temperature control.

You can light your Primo Kamado with a chimney starter and fire starters, or put natural firelighters straight into the charcoal bed. Both work well — chimneys heat up charcoal faster, while direct lighting gives you a bit more control over the temperature ramp-up.
Fill your chimney starter halfway with lump charcoal. Drop 1 to 2 fire starter cubes or some crumpled newspaper underneath the chimney to get things going.
Set the chimney on your Primo's grates. Use a long lighter to ignite the fire starters underneath. Keep your hands clear of the top of the chimney.
Wait about 15 to 20 minutes until you see a light gray ash coating on the coals. Flames should be coming out the top — that's when they're ready to use.
Pour the hot coals into the fire box. Open both vents all the way to let in plenty of air — this helps the fire spread through the rest of the charcoal quickly.
The chimney method is inexpensive and keeps your hands away from open flames while lighting. It also gives you a consistent, fully lit coal bed to start from.
Push natural firelighters directly into the charcoal bed so they're in good contact with the lump charcoal around them.
Stack 2 to 3 pieces of charcoal on top of each fire starter. Light them with a long lighter and leave the lid open for a couple of minutes to let the fire breathe.
Shut the lid and open both vents all the way. This method takes around 30 to 40 minutes to reach cooking temperature — the fire spreads gradually as you heat up.
Direct lighting uses less fuel at the start and gives you more control over your temperature ramp-up. You're only firing a small section first, and the fire spreads as you cook.
Looking to complete your Primo setup? Shop our collection of Primo grill carts and get a sturdy, purpose-built stand for your kamado.

Managing temperature on your Primo Kamado takes some practice with the vents and how you arrange the charcoal. Regular maintenance keeps your grill working smoothly every time you fire it up.
The bottom and top vents work together to control airflow and temperature. Start with both vents wide open, then adjust as you get close to your target temp.
When you're within 25°F of your target temperature, start closing the top vent gradually. Small moves make a big difference on a ceramic kamado — be patient and give it time to settle.
For direct cooking, put food right over the hot charcoal — no deflector plates needed. This is your go-to for steaks, burgers, and anything that cooks fast at high temps.
If you want indirect cooking, set heat deflector plates on the rack between the charcoal and grates. This gives you even heat for roasting or low-and-slow smoking.
Skip the deflector plates. Spread charcoal evenly on the fire grate and place food directly on the grates above the coals. Best for high-heat, fast-cooking foods.
Place deflector plates on the rack between the charcoal and cooking grates. Add a drip pan under the food if needed. Place food on the grates above the plates for even, all-around heat.
Use a deflector plate on one side only. This gives you a direct zone and an indirect zone at the same time — ideal for cooking different foods or moving things around to control doneness.
Exploring all your kamado options? Shop our full range of kamado grills and find the perfect ceramic grill for your backyard.
Starting a Primo Kamado grill the right way comes down to using the right charcoal, building a solid ember base, and learning how to manage airflow to hit and hold your target temperature.
Once you get a feel for the vents and how the ceramic retains heat, cooking on a Primo becomes second nature. Whether you're grilling hot and fast or smoking low and slow, the results are hard to beat.
Want to explore more fuel options for your outdoor kitchen? Check out our guide on propane vs natural gas grills to find the right setup for your space.
Primo Kamado owners tend to ask about lighting methods, temperature control, and how to get started with kamado cooking for the first time.
Fill the firebox with natural lump charcoal — a full load for smoking or searing, or half for two-zone setups. Light it with a paraffin fire starter, electric starter, or gas torch, and avoid lighter fluid since the ceramic absorbs it and affects food flavor. Wait 5 to 10 minutes for a bed of embers to form, then close the dome and open both vents fully until you're about 25°F from your target temp.
Build a mound of natural lump charcoal in the firebox — it burns cleaner and longer than briquettes and can be relit for future cooks. Light it with an approved starter and let the fire develop for 5 to 10 minutes with the dome open to build a solid ember base. Close the dome, open both vents wide, and make small adjustments as you get close to your target temperature.
Add charcoal to the firebox, light it, and wait 5 to 10 minutes for embers to form before closing the dome. Open both vents wide to bring the temperature up, then watch the built-in thermometer as things heat up. When you're within 25°F of your target, start closing the top vent — even a quarter-inch shift can move the temperature by around 25°F.
Your Primo Kamado can grill, smoke, bake, or roast depending on how you set it up — temperature is controlled by adjusting the draft door at the bottom and the daisy wheel on the top vent. For low and slow smoking at 225°F, build a small fire, wait 5 minutes, close the dome, and open both vents fully until it climbs to 200°F. Then set the draft door to about an inch open and the top vent to half an inch with the daisy wheel holes fully open, tweaking as needed to hold your smoking temperature steady.

As the outdoor living trend continues to thrive, you may be wonder...

How to transform your outdoor space in 5 steps to...